

If you want to make one of these easter back bags, please read my following instruction.
The finished size of the back bag will be app. 30 x 40 cm, the rabbits height is app. 20 cm.
- You need the following material (can be old fabrics) - includes seam allowance
- Cotton for the back bag - app. 34 x 100 cm
- Cotton for the rabbit - app. 25 x 25 cm
- Lining for the back bag - app. 34 x 90 cm
- Lining for inside pocket - app. 22 x 30 cm
- 1 zipper, 18 cm
- Interfacing for ironing on
- Small piece of fabric for the edges, maybe in another colour
- Smal piece of fabric - for the strengh of the eyelet
- Different colours of threads
- Cord ribbon - app 4,5 mtrs.
- Blue or black tracing paper
- Pencil or Pen
You start with the pattern for the appliqué:

Put the fabric for rabbit on your ironing board upside down and iron on the interfacing fabric (it should have the size of the rabbit).

Now turn around this fabric, put the tracing paper on top, then the rabbit picture and trace the lines with a pen or pencil.

Fold the back bag material by half and pin the rabbit about 7 cm from the folding line on the front side of the back bag. Now sew around the contures of the rabbit with the sewing machine (use smaller stitches) as you can see on the photo.

Cut out the rabbit carefully very near of the sewing line - use a small scissors.

Sew another time around the contures of the rabbit with samll zagzag-stitches, use the coloured thread you prefer for the rabbit

You can sew the face of the rabbit by hand or machine (as I did). Use very small stitches, better you try it on a small piece fabric before you start with the rabbit´s face.

To get stitches more denseley you can sew around the coutures of the rabbit another time with a zigzag stitch

Tutorial for an inside zipper pocket bag:
In the meantime prepare the lining. Fold the lining material by half and iron a piece of interfacing material - about 10 cm from the top line on back of one side .(to stiffen the lining material). The interfacing piece should be the size of the zipper pocket - app. 20 x 20 cm.
Then fold the lining material for the zipper pocket by half, iron it and sew the zipper under the folding line as you can see on the picture.

Trim the open edges with the overlock or if you don´t have one, use a zigzag stitch.(it shouldn´t frazzle after using the bag a lot). Then fold back the seam allowance and iron it well.

Now pin the zipper pocket on the lining fabric and sew around - but be careful when sewing over the zipper --> the needle could break, therefore sew over the zipper slowly!

Now the easy zipper bag is looking like this:

Fold the upper fabric of the back bag for a nice seam of about 3 cm to the inner side (at first fold about 2 cm to inner side, then 3 cm --> 3 cm will be the finished seam) and iron it well.

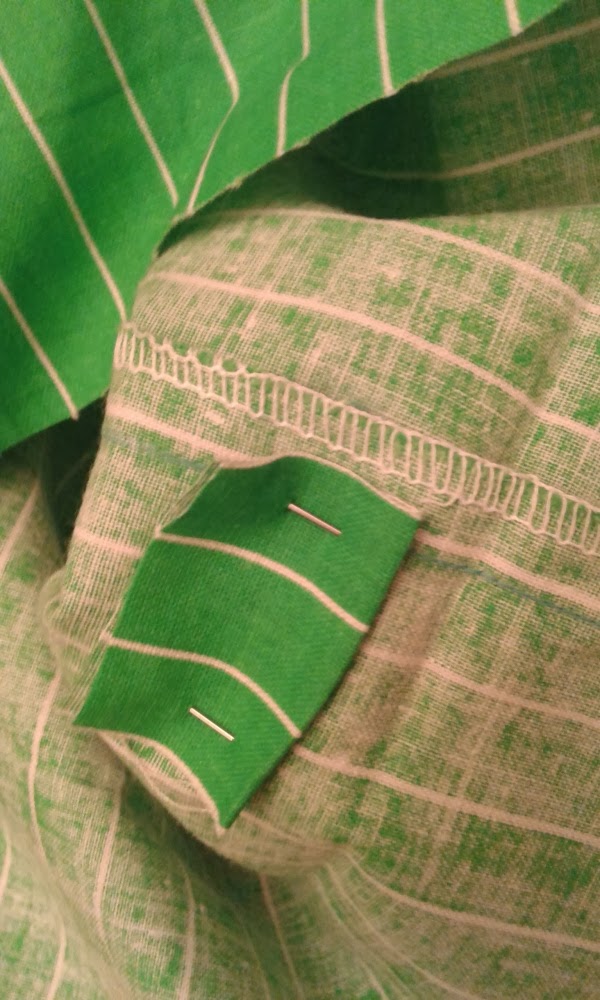
Cut out 2 trinagles (length: 5 cm) of a small piece of a contrast fabric (as you can see on my first photo).

Then fold the seam allowance of each side back and iron well.You can sew small stitches around the triangle to hold the seam allowance back (as I did).

Pin the triangles on the lower edges of the back bag and make a sewing line around.

Now prepare the tools to insert an eyelet onto the triangles.

Make a hole for the eyelet with a hammer and a punch (should be the size of the eyelet). If you don´t have a punch you can cut the hole with a scissers carefully.

Now insert the eyelet with the machine or with an eyelet tongue.

Cut 2 small pieces (about 6 x 6 cm) of a strong fabric and fold them - any fabric will do, because the folded pieces are only to strenghten the eyelet hole, otherwise the eyelet will get off after a certain time).

Make a mark with a pen on both sides (for the cord ribbon) about 1,5 cm from the upper folded line.

And pin the small folded fabric pieces under the back side where you insert the eyelet the same way I explaned before.
Prepare the lining now - that means, fold it in the middle, pin it, sew it and trim it

Open the back bag.

Arrange the lining that way: when you open the bag, the zipper is on the opposite side of the side with the rabbit appliqué, put the lining under the folded fabric and make a nice seam with the sewing machine. Be careful when you sew beneath the eyelets.

Pin the lining and the upper bag at the lower side that the lining later cannot slip out and make a short sewing line - so the two fabrics (lining and upper) will stay together.


The last thing is to pull in the cord ribbon - on each side a piece of about 2,20 m - then pull both ends through the lower eyelet and make a knot at the back side.

I hope you have fun with the Easter back bag.
See also my shoebags:
http://craftrebella.blogspot.co.at/2013/12/last-minute-christmas-present-shoebag.html
The design and instruction are only for private use.
No comments:
Post a Comment
Wenn du auf meinem Blog kommentierst, werden die von dir eingegebenen Formulardaten (und unter Umständen auch weitere personenbezogene Daten, wie z. B. deine IP-Adresse) an Google-Server übermittelt. Mehr Infos dazu findest du in meiner Datenschutzerklärung: https://www.craftrebella.com/p/blog-page_12.html.
When you comment on my blog, the form data you submit (and possibly other personal information, such as your IP address) may also be sent to Google servers. More information can be found in my privacy policy: https://www.craftrebella.com/p/blog-page_12.html.